Now, let's explore how to publish a Service Flow and trigger it. Service Flows can be published as:
Publishing a Service Flow as a Service
After you finish debugging a Service Flow, you can publish the workflow as a service so it can be called from other workflows.
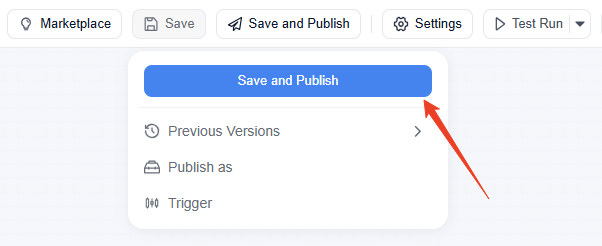
- Step 1: To publish a workflow as a service, first click “Save and Publish” in the upper-right corner to publish the workflow. Once published, the following options will become available. Next, you can click “Publish As” and select “Service.”
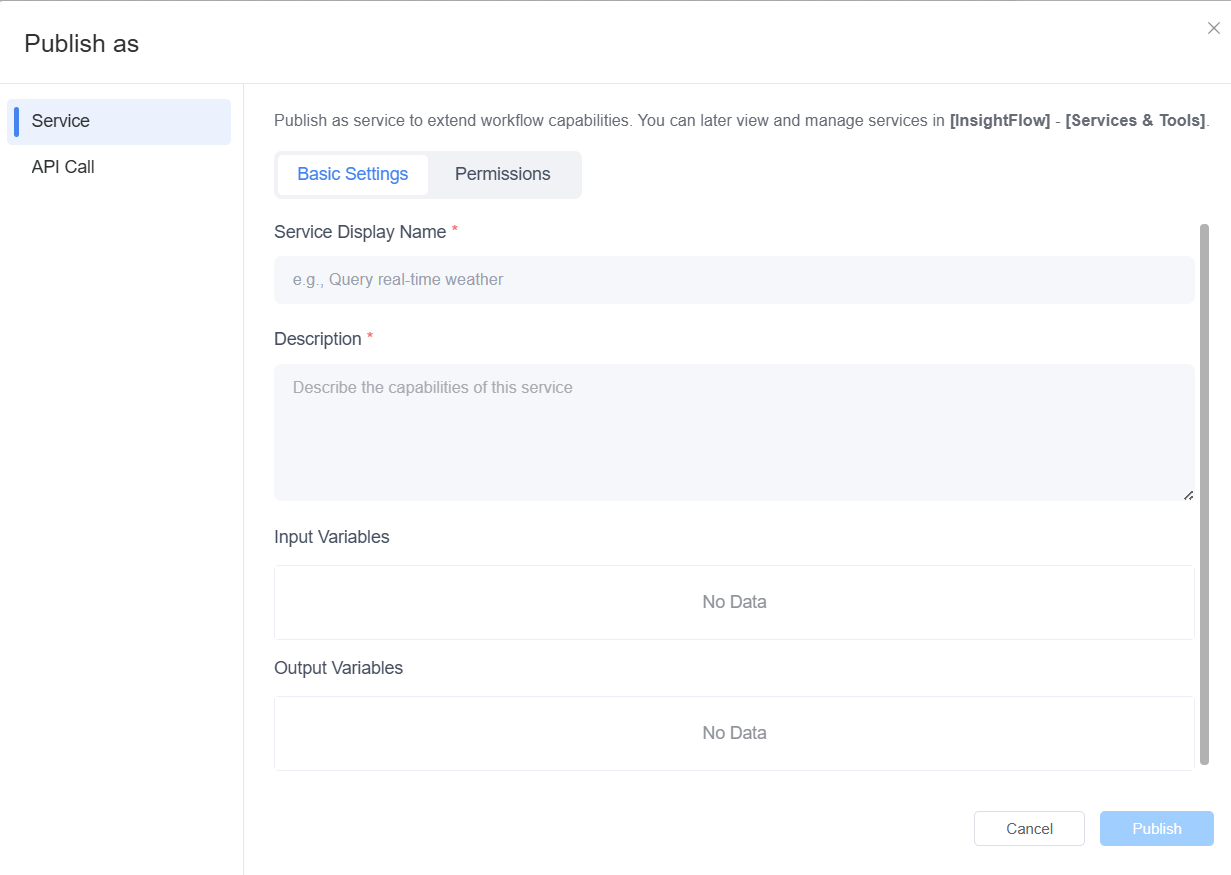
- Step 2: You can edit the basic settings, including: service name, description, input variables and output variables.
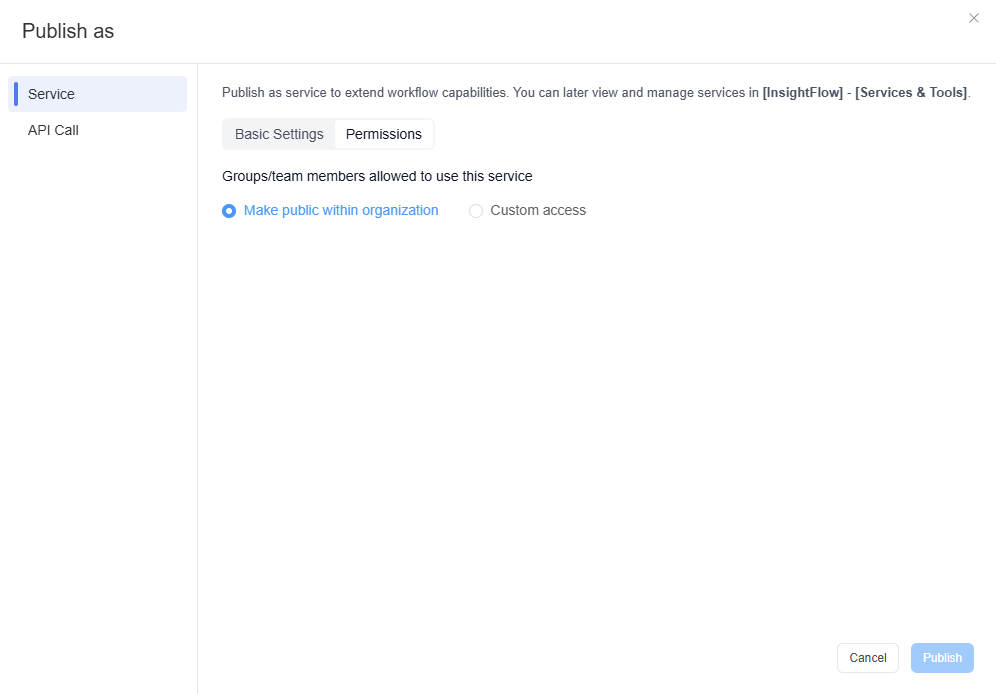
- Step 3: You can also set the permissions:
- Scope of use: Set who is allowed to use this service. Others can find the published service on the workflow canvas and add it to their workflow.
- Scope of management: In addition to the scope of use, you can set who can manage this workflow. The scope of management determines who can access / edit / manage the workflow.
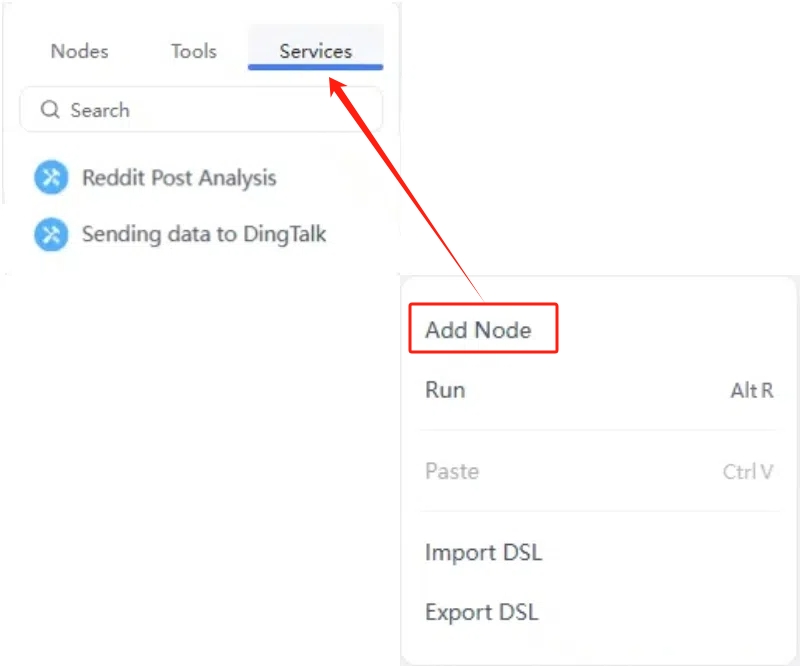
- Step 4: After you publish the workflow as a service, when creating other workflows, you can find it under Service in Add Node, and then call this workflow.
Publishing a Service Flow as an API
Another option is to publish the Service Flow as an API call for easy HTTP access, simplifying integration.
- Step 1: Click "Publish as".
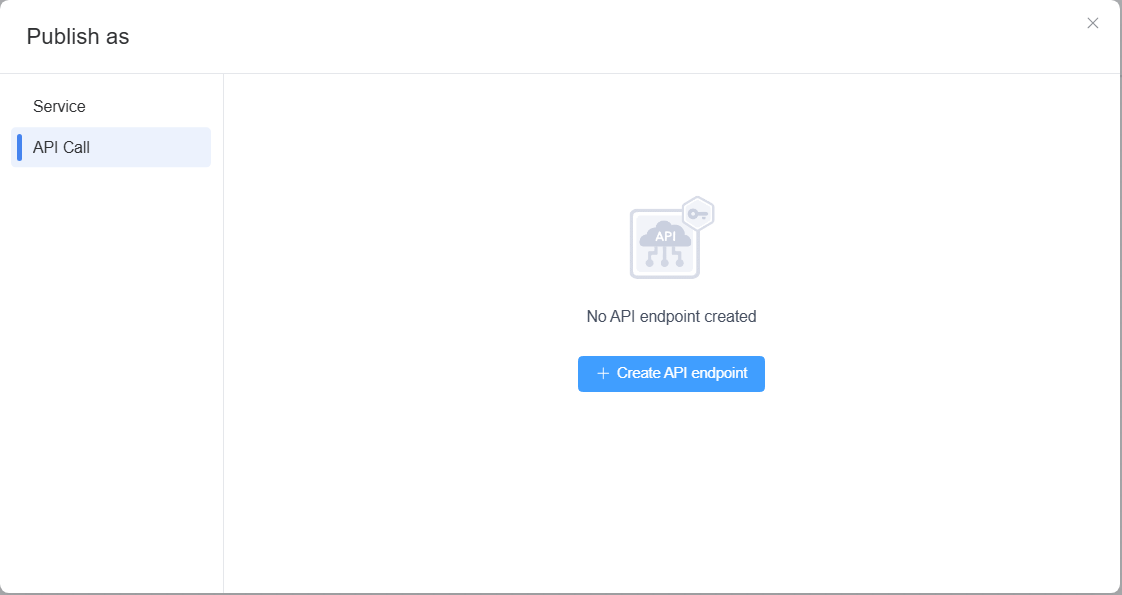
- Step 2: In the pop-up window, select "API call" and click on "Create API endpoint".
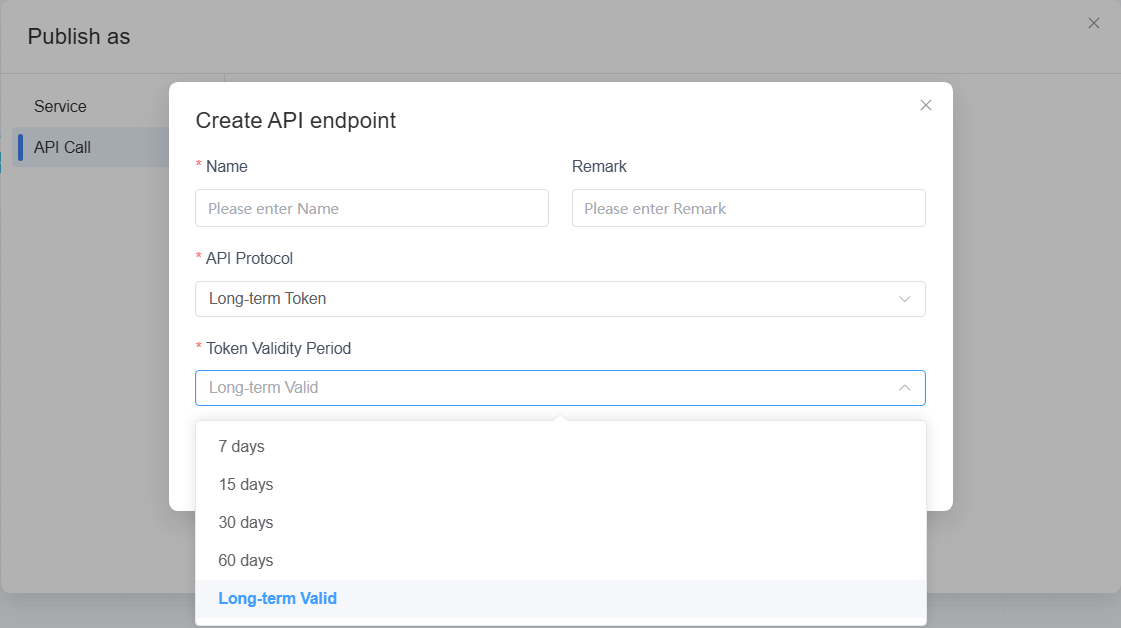
- Step 3: Fill in the basic information for the API. The API protocol uses a long-term token by default, but you can adjust the token's validity period according to business needs, such as one week, two weeks, one month, two months, or long-term.
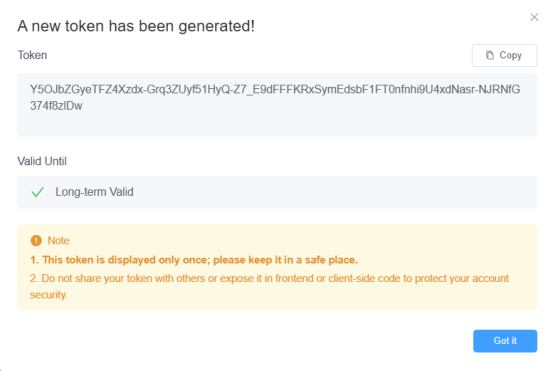
Note: The generated API is displayed only once, so be sure to save it for future use. It is recommended not to share the API with others.
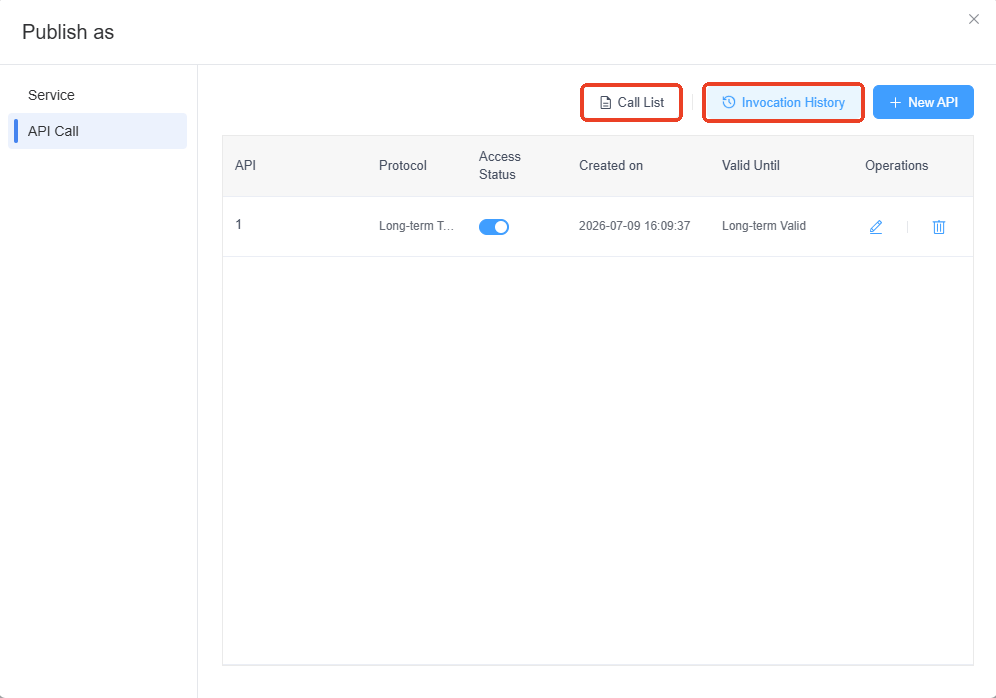
You can view API call documentation and call history in “Call List” and “Invocation History.”
Triggering a Service Flow
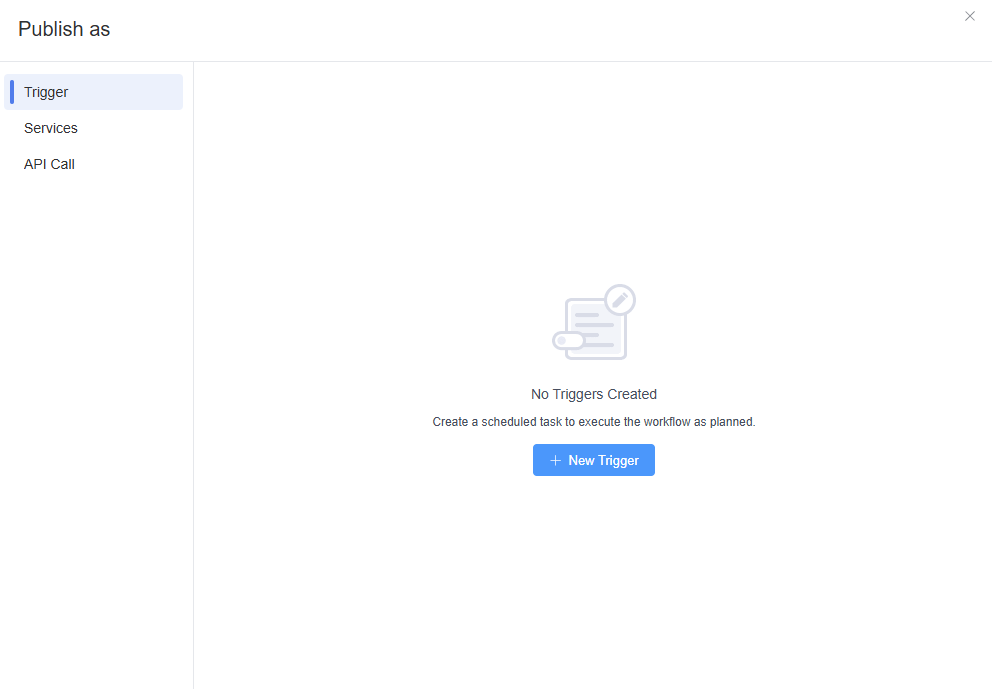
Once you have debugged your service-oriented workflow, you can configure its triggers. These determine when the workflow is automatically started or executed. Configuring triggers allows the workflow to run automatically under specific conditions, thereby improving efficiency and reducing manual intervention.
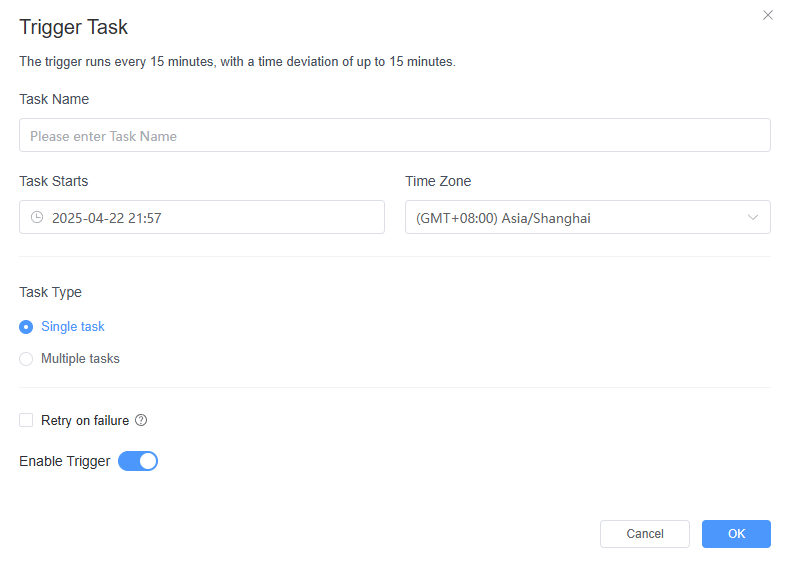
- Step 1: You can configure trigger settings, including the task name, task start time (with the option to specify a time zone), task type, and the failure retry mechanism.
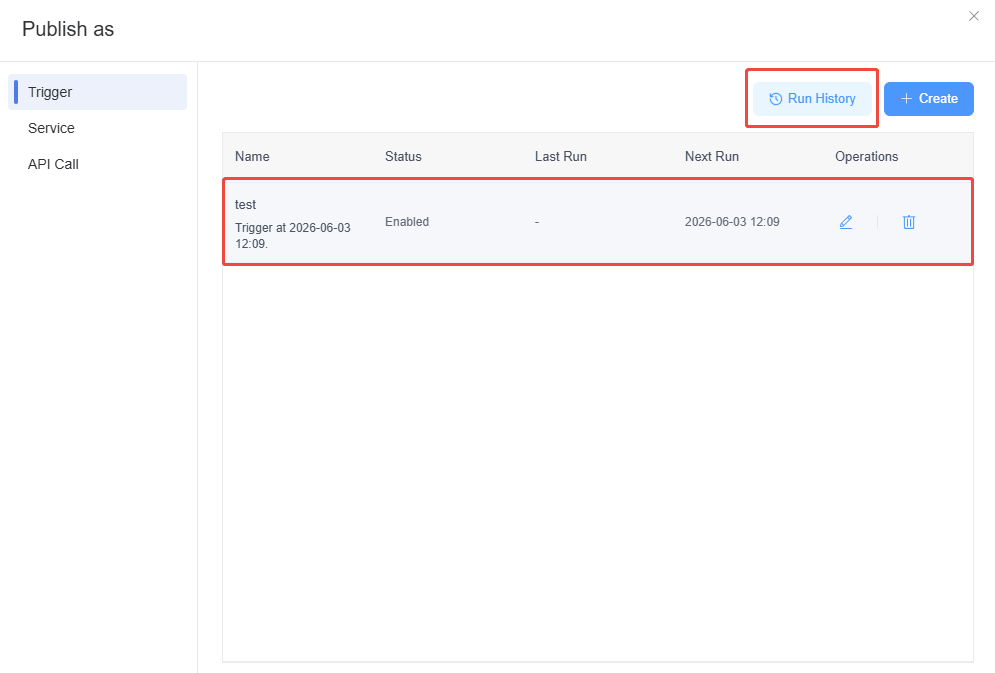
- Step 2: You can view the triggers you've created, as well as their execution history here.


Leave a Reply.