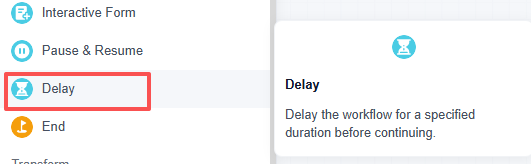
The Delay Node is used to make the Workflow wait for a specified duration before continuing to execute subsequent Nodes.
It is commonly used for controlling "throttling," "waiting," "retry," "intervals," or "batch execution," making the process more stable and closer to real business rhythms.
Configuration
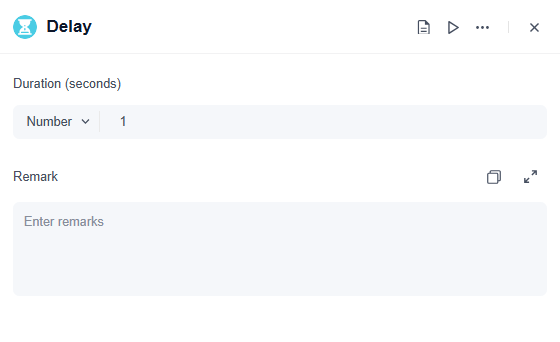
After adding the Delay Node to the canvas, click the Node and complete the following settings in the right-side configuration panel:
Duration (seconds)
Sets the length of time to wait, in seconds.
- You can enter a number directly (e.g., 10, 60, 300), with a maximum of 180 seconds
- You can also insert a variable, provided it is of Number type
Remark
Used to explain "why this wait is needed," facilitating future maintenance and troubleshooting. For example:
- Purpose of waiting: debounce/throttle/wait for external system synchronization/retry interval
- Related systems: e.g., "waiting for CRM write completion"
- Business rules: e.g., "avoid duplicate notifications to customers within one minute"
Use Cases
Example 1: API Call Throttling (to avoid triggering rate limiting/risk control)
Scenario: When calling external system APIs (CRM, ticketing, email, etc.), requests that are too frequent within a short time may trigger rate limiting or failure.
Workflow example:
- Loop through a batch of records → call external API → delay 1–2 seconds → process the next record
Value: Reduces failure rate and makes batch processing more stable.
Example 2: Waiting for Asynchronous Results (giving the external system "processing time")
Scenario: Some system actions require a short time to take effect after being triggered (e.g., after creating a ticket, the index may not yet be updated, so querying immediately may yield no results).
Workflow example:
- Create record/trigger task → delay 5–10 seconds → query status again/pull details again → output results
Value: Avoids misjudgment such as "not found/status not updated."


Leave a Reply.